Service Alerts Manager
Overview
The Service Alerts Manager allows for the creation and management of Service Alerts for feed sources managed within the GTFS Data Manager.
Alerts Viewer
The Alerts Viewer allows users to view, search for, and filter all present and past alerts. A user may choose to edit one of the alerts in the list (if she has the appropriate permissions) or create a new alert.

Editing an Alert
A user may edit an existing alert by clicking button with the pencil icon for the given alert. This button may be disabled for a few permissions-related reasons:
- if the user does not have permission to edit alerts for agencies contained within the alert OR
- if the alert has been published, but the user does not have the Approve Alert privilege.
Filtering Alerts
The list of alerts may be filtered in a couple of ways:
- Searching the title by text, e.g. "BART"

- Clicking one of the following filters:
- Active - shows all active alerts (alerts that have begun, but not yet terminated)
- Future - shows all future alerts (alerts that have not yet begun)
- Archived - shows all archived alerts (alerts that have already terminated)
- Draft - shows all draft alerts (alerts that have not yet been published/approved)
- All - shows all alerts
- Filtering by agency or sorting by title, start/end date, or date last edited.
Creating a New Alert
On the main Alerts Viewer page, a user may create a new alert a few different ways.
- Clicking the New Alert button.
- Zooming into the map, selecting a route or stop feature and then clicking Create Alert for XXX.
- Begin typing the name of a route or stop in the search bar above the map, selecting a route or stop from the list and then clicking Create Alert for XXX.

For more info on route/stop search, see Searching for Routes and Stops.
Alert Editor
Upon creating a new or editing an existing Service Alert, a user will see the Alert Editor view. Here you can specify all of the Service Alert properties.

List of Service Alert Properties
- Alert Title (required)
- Start and End Dates (required)
- Alert Cause and Effect (required)
- Description (optional) - a brief description of the alert cause, effect or other relevant information.
- URL (optional) - a fully qualified URL (http://example.com/alert/123) where riders can view information about the alert
- Affected Service (required) - one or more services that are affected by the Service Alert. Affected Service types are:
- Agency - affects the entire Agency
- Stop/Route - affects a single stop or route and can optionally be refined further by, respectively, a route or stop (e.g., Main St & 4th St Stop for Route 10 only)
Adding Affected Service to a Service Alert
Adding affected service to a Service Alert can be done through clicking the Add Agency buttons or searching for and selecting a stop or route in the Affected Service panel. Users may also add stop/route service by searching for stops and routes through the map/search interface on the right side of the Alert Editor (similarly to creating a Service Alert for a stop/route).
Once a new Affected Service has been added, it will appear in the Affected Service panel. Clicking the newly added item will allow the user to change the selected service and/or refine the service further. For example, after adding a stop to the Affected Service list, the user may want to refine that stop to only include a certain route rather than affecting all service at this stop.

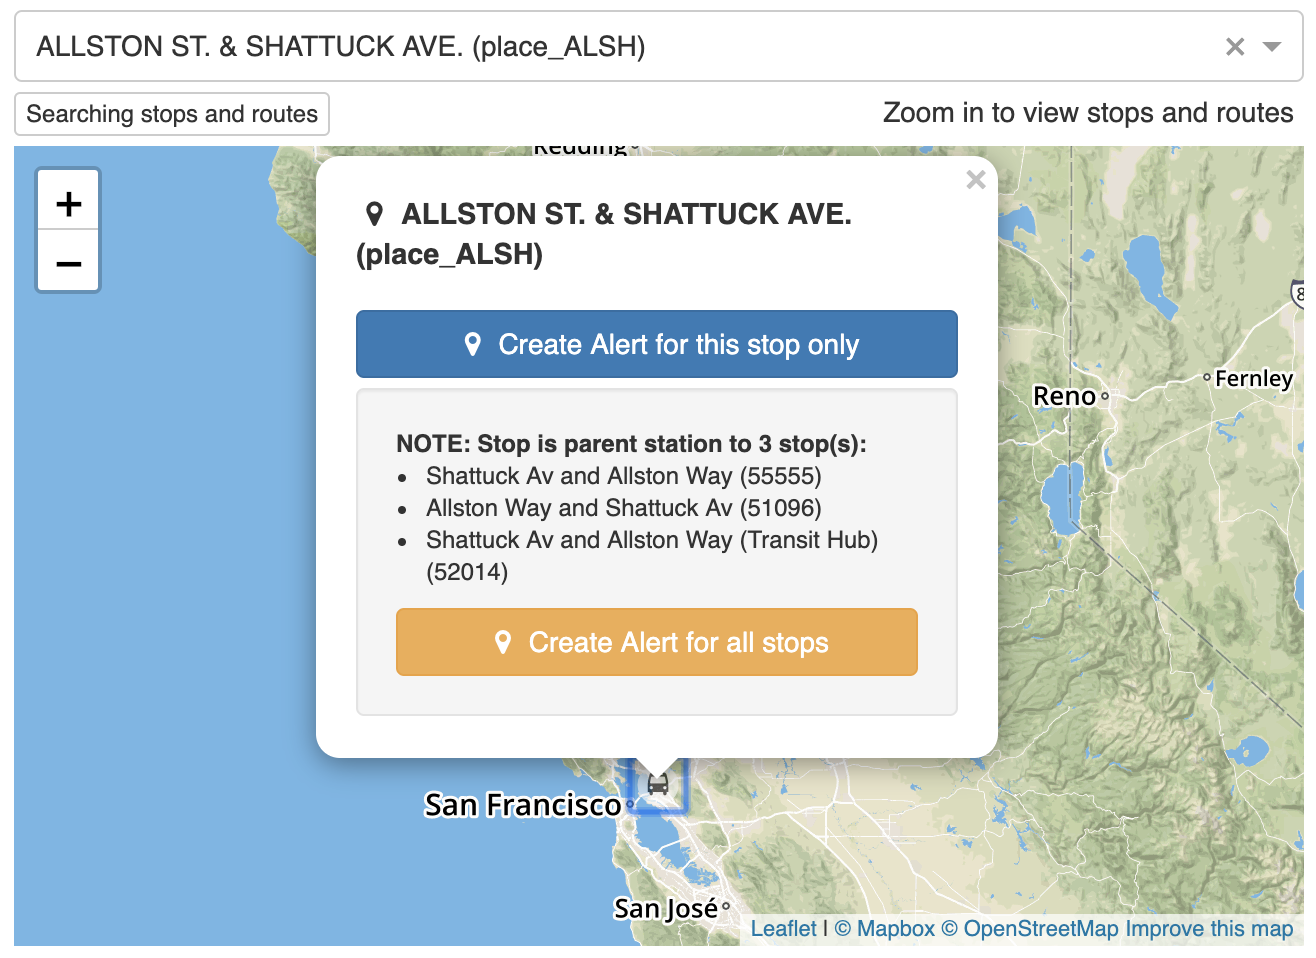
Adding Parent Station and its Children Stops to a Service Alert
The GTFS specification supports stops that act as parent stations to a set of other stops. This is often used to model transfer centers with multiple bus bays or rail stations with multiple platforms. To create a service alert for a parent station and its children stops, first search for a known parent station. Once you have located the stop (via the text search or map), click on the stop if the pop up is not already showing. From there you can choose to create an alert for just the parent station, or the parent station and its children. If you only need a subset of the stops for the alert, once they have all been added you can remove individual stops as needed.
Publishing, Saving and Deleting Alerts
Once finished, editing an alert, a user can save the alert by clicking the Save button in the upper righthand corner of the Alert Editor. After saving, the user will be redirected to the full list of alerts.
If the user has the Approve Alert permission, she may toggle the alert between unpublished (draft) and published states by clicking the toggle Published? button to the "checked" state or (if already published) to the "unchecked" state.
To delete the alert, click the red Delete button. You will be asked to confirm this decision. You may also delete alerts by clicking the X button for a given alert in the Alerts Viewer.